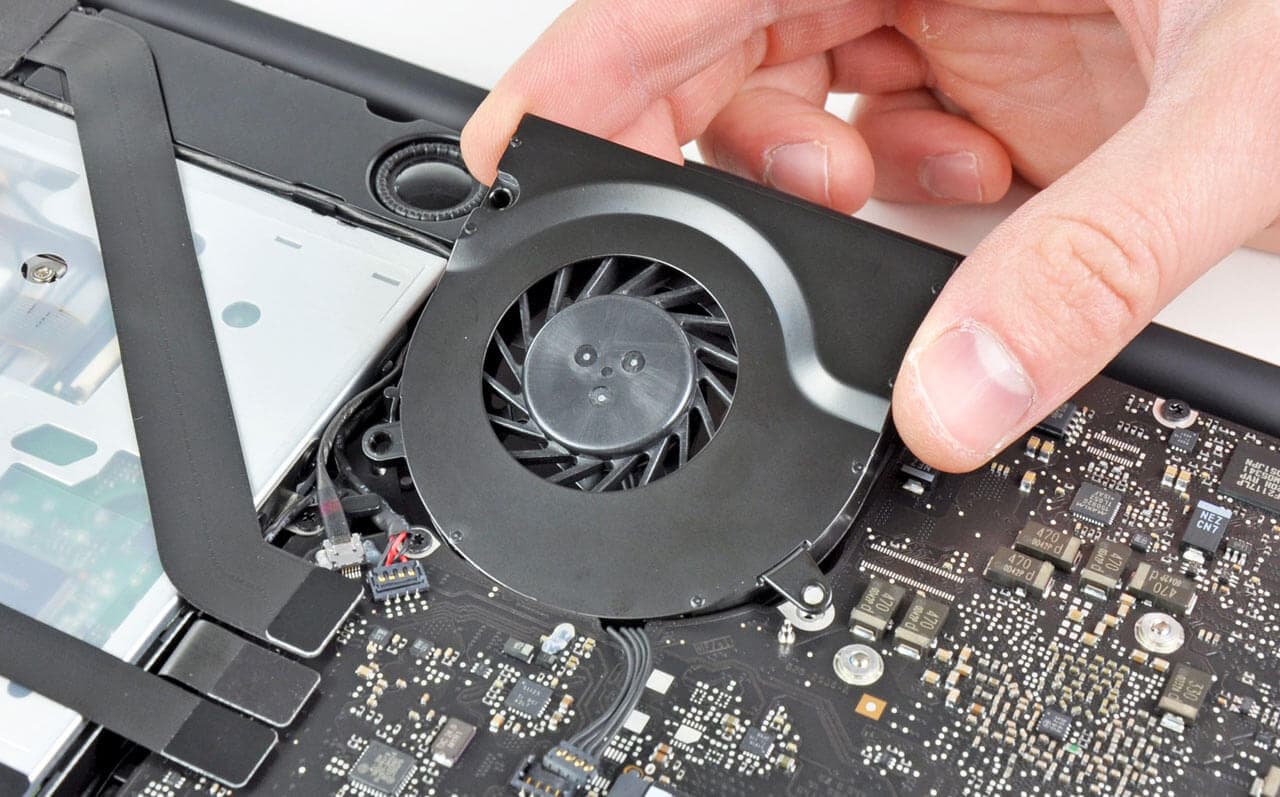
How to Control Your Laptop Fan Speed (Top 3 Ways)
Disclosure: This post may contain affiliate links. If you purchase through these links, we may earn a small commission at no extra cost to you.
Is your laptop getting too hot?
Did you know that you can adjust the speed of the fan in your laptop to cool it down more?
Well, you can and I’m going to show you various ways that you can do this.
If you want your laptop to operate in the most consistent and reliable way then controlling the speed of the fan inside it is pretty important. You may want to speed up your internal fan or even slow it down.
Now at this point, you may be wondering why you could possibly want to slow down the speed of your laptop fan. Well you can do this to reserve processes or if you are not using your laptop too much.
In most cases, you’re going to want to speed up the fan in your laptop. If you’re using processor-heavy applications or a lot of applications at once then your laptop can get pretty warm.
There are other circumstances that can cause a laptop to get too hot such as where it’s located for example. We have a great article on how you can keep your laptop cool when it’s getting too hot and I recommend that you read it and follow the advice given.
Sometimes the constant whirring of your laptop fan can drive you crazy. Although this is a more common problem with desktop computers it can happen with laptops too. So let’s take a look at the different ways that you can control the fan speed in your laptop.
Some General Advice first
If the environment where you have your laptop is good and there is reasonable airflow then the main reason why it’ll get too hot is because you’re using too many system resources. Over time the heat will build up and you may find that your laptop becomes really hot to touch.
Give your laptop a break here by closing any applications that you have open but are not using. A lot of applications run processes in the background that eat up system resources and put more pressure on the processor.
Take a look at the number of applications that start up when you boot up your laptop. Are there a lot?
Do you really need all of these applications to open on boot up? When you get right down to it you probably don’t. I’ve changed my startup options for my laptop so that only the most essential applications open and it does not get so hot now.
Top 3 Ways to Control the Fan Speed on Your Laptop
1. Use the BIOS Program in your Laptop to Control the Fan Speed
Every laptop uses a basic input output system BIOS when it starts up and this program will check your laptop and its various settings to ensure that it’s ready for use. There are a number of settings that you can change in the BIOS program of your laptop and usually, there is some degree of fan control available.
Now I don’t want you to go into panic mode here. While it’s true that you can mess a lot of things up by poking around in your laptop’s BIOS settings and changing things that you do not understand I’m not asking you to do that. If you’re worried about using the BIOS then get some help with this.
OK, so the first thing you need to do is to enter your laptop’s BIOS program as it’s booting up. To do this you’ll need to press a function key like F2 or F10 at boot up. If your laptop is already on and you have Windows displayed then you’ll need to restart. Your laptop manufacturer will advise you on which function or other keys you need to press at boot up.
So now you are into your BIOS settings. From here you need to look for the configuration settings for your laptop. Use the arrow keys on your keyboard to navigate around until you find the right page of settings. Remember that you’re looking for settings related to your laptop’s fan.
There should be something there. In some cases, this will just be the option to keep your fan running permanently. This can be a good option in cases where your laptop is always running hot but understand that a constantly running fan may get on your nerves. It is also likely to wear out the fan a lot quicker too.
You may have an option to change the settings for when your laptop fan will start working. Normally this is on a temperature basis. What you do not want to do is make the temperature too high because you could risk damaging your laptop. Changing the setting to a lower temperature for fan operation is the right way to go.
Once you’ve made the BIOS changes then save and exit. Your laptop should automatically reboot now and your new settings for your fan will be in place. Test this for a while to see if it makes a difference.
2. Adjusting your Laptop Fan Speed within Windows
With Windows 8 or 10 you can usually adjust the speed of your laptop fan by accessing the Control Panel. Once you have the Control Panel open select Performance and Maintenance. Then select Power Saver.
You’ll see CPU Processing Speed and next to this is a slider. If you want to increase the speed of your laptop fan then move the slider to the right. Should you want to slow down the speed your fan is running at then simply slide to the left.
To save the changes click on Apply and OK. Again you need to test this new configuration to see if you notice any improvement. The good thing is that it’s easy to change the settings again if they are not quite right.
3. Use SpeedFan to Control your Laptop Fan Speed
If you’re running Windows then there is a good third-party application for controlling the speed of your laptop fan called SpeedFan. Not only this is a great application, but it’s totally free and it’s been around for years so there have been a number of refinements to it.
You can do a great deal with SpeedFan and the interface can be overwhelming so don’t panic. There’s a great user guide available and you should be able to find answers to most of your questions with a bit of searching on Google.
SpeedFan will work with most fans and motherboards but there may be some exceptions so you need to download it and install the application and see if it will work with your laptop. It’s fairly easy to adjust fan speed once you get the hang of the program.
Conclusion
I’ve given you three great ways to access and control the fan speed on your laptop. You may find that your BIOS doesn’t have any settings for this or just the ability to turn your fan on or off. Never turn your laptop fan off as this is just asking for trouble.
If you have a later version of Windows (Windows 8 or 10) then you can adjust the fan speed through the performance settings in Control Panel. With older versions of Windows, this is not possible.
The SpeedFan application is free and very good. The only problem might be that it’s unable to detect your fan or motherboard but usually, it does a good job with this. Be sure to read the instructions fully before you use the app and you can then safely make adjustments to the fan speed in your laptop. It’s worth downloading SpeedFan to try it out.
When you make any adjustments to the fan speed of your laptop check to see how well things are going for a while. You can easily revert back to the standard settings if you don’t see any improvement.

Tech enthusiast and founder of Technize. Passionate about making technology accessible and helping people make smarter buying decisions.